Introduction
It all started with A. offering me a manila envelope: I opened it, and a phone dropped out. Just like in a certain movie…
No, not really. It was in a box, and the image on the box looked like a Nokia featurephone.
For the last few years I’ve been using a Nokia 105, and despite the fact that I wanted a phone without features and apps, I was starting to feel like I had a solid technological handicap: the calls sounded horrid, the reception was shit, the screen was invisible in the sun. Even the good things like near-infinite battery and oops-I-dropped-it-from-the-third-floor-again indestructibility had started to pale in front of the fact that I couldn’t rely on it for the one job: to make calls.
So enthusiastically I opened the box and took this new phone out, and my reaction was a little like this:
It really was… a Banana Phone.
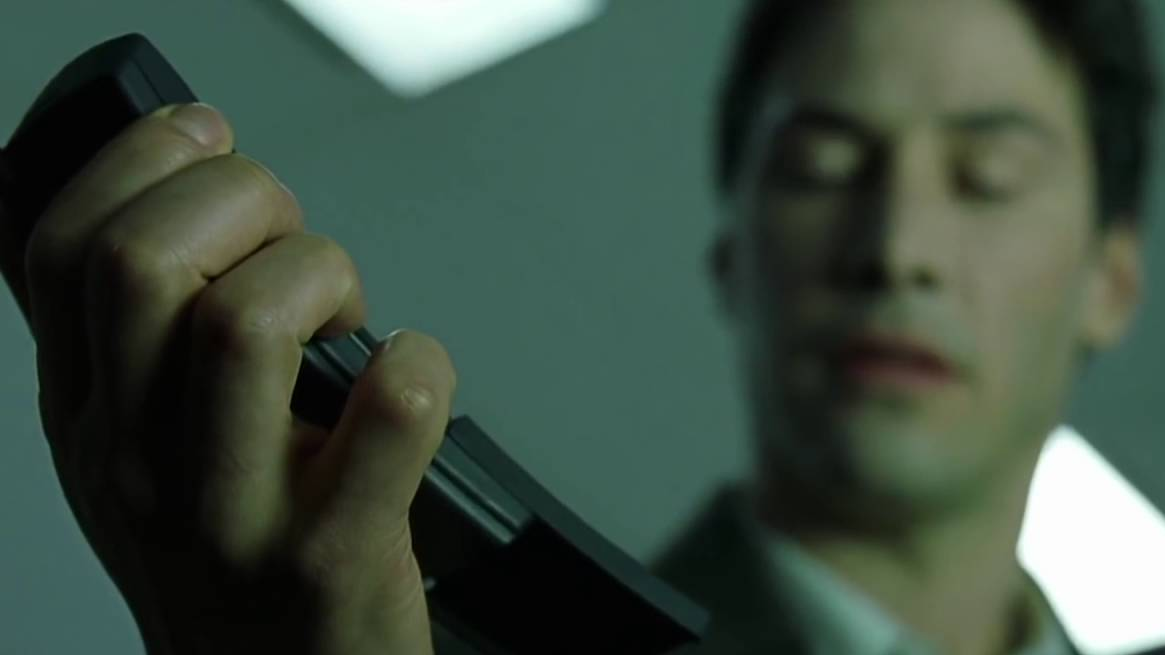
What’s a Banana Phone? The Nokia 8110. A beautiful relic of the delicious late 90s, whose legacy has remained alive in pop-culture thanks to the Matrix movie (1999): it’s the phone that helps Neo escape from work.
Since 1996 when that phone was released, many things have changed. Phones have become smart corporate surveillance black boxes, Nokia has gone bankrupt (how many times?) and been sold and bought and resold and rebought (how many times?), but as of the late 2010s, whoever owns Nokia has started re-releasing the classics and re-contextualising them for today. And it seems a market of festival-goers, wilderness hikers, survivalists and tin-foil-hatters emerged and started buying these things.
But when I opened that box, I still had no idea that a phone like this existed. The case of a late 90s classic, a tiny non-touch screen, but with features from this century: 4G, camera, and WiFi. I felt brought back to 2006 all over again, in that uncanny valley between dumb and smart, but more than a decade late.
Of course as soon as I booted it up, saw the logo of KaiOS, and started looking through the menu, I was slightly horrified to see a lot of bloatware and no obvious way to uninstall it: Google junk, Facebook, Clash of Clans, and - the most insulting of the pack - Snake 3D.
Of course, my first question was: how do I get rid of this stuff? Then the second question, naturally: is this Linux? If it is, can I use an open-source one? To my surprise, I found a pretty large community of hackers who have created a fully open-source Linux distribution that works on this phone: the Banana Hackers community!
In the following article, I shall document my adventures with freeing my phone and joining the brave new world of technology on my open-source cyberpunk Nokia phone!
And distrust the system and reality as we see it in the process!
The kit
Nokia 8110 4G
The real name of the Banana Phone. It was released in 2017, it’s dual-SIM, and equipped with 4G and Wifi, as well as the ability to run a Wifi hotspot! Moreover it supports GPS navigation, so maps can be installed, and it also has a 2.51 MP camera which shoots images in that characteristic mid-2000s look.
Also, the sound quality is so much better than an average old or new dumbphone. Not only analog-to-digital conversion wise, but also because I can have 4G calls. And the phone comes with a pair of headphones that can be used as an antenna so you can have radio. Classy.
The slider unfortunately is only decorative, as there is no microphone mounted at the bottom of the slider like in the old phone. But even so, it’s nice to know the keys are protected, so there’s no risk of pocket dials and the text on the keys won’t wear off entirely like it happened to my old Nokia.
Combining this set of features, with up to 5 days of battery life makes it a unique device, which maintains usability advantages without any of the distracting and black-box features of a smartphone - and not to mention its fragility.
KaiOS
KaiOS is based on Firefox OS (Boot to Gecko) which is sadly now discontinued. One amazing thing about Firefox OS was that it was super-easy to write applications for it in HTML5 and Javascript, basically a website running like an app on the phone. Of course this brings its own great vulnerabilities but also allows a plethora of applications to be easily created and maintained.
One such vulnerability in KaiOS was found and exploited by a hacker who calls themselves Luxferre to get root permissions on the phone. Now a few years later, the community is larger than ever, and better exloits as well as a fully open source custom ROM are available.
GerdaOS
In the fairy tale of “The Snow Queen”, by Hans Christian Andersen, two childhood friends, Kai and Gerda, get separated by a curse. In the story, shards of a cursed mirror get caught in Kai’s eye and heart. This makes him cold to his friend, and he leaves her and heads north to find the Snow Queen. Gerda relentlessly follows him through endless perils, and in the end, as she finds Kai, the tears she sheds for him melt down and dislodge the shards in his heart.
GerdaOS is a free, open source custom ROM for KaiOS phones which gives full control to the user. As the community states: “Our mission is to liberate the heart of Kai”. Just like Gerda did in the story.
This freedom and control is what allowed developers to go ham with apps: OpenStreetMaps, a TOTP compatible OTP generator (to replace Google Auth), Signal and Telegram clients, Wikipedia, a Gameboy simulator and many other apps are now available on the Banana Hackers Store. As far as I know, the Banana Hackers Store is the only free app store that has more applications than its closed-source competitor.
The GerdaOS website offers two components: a recovery image, which installs the OS for us, and the OS installer itself.
wget https://cloud.disroot.org/s/3ojAfcF6J2jQrRg/download -O gerdaos-recovery.img
wget https://cloud.disroot.org/s/3TkBHCZ58rHd6zX/download -O gerdaos-installer.img
To check the digest compare the outputs of sha256sum to the ones available on the site.
sha256sum gerdaos-recovery.img gerdaos-installer.img
adb
Android debug bridge. The bread and butter of all custom ROMs works for KaiOS/GerdaOS as well. Use it to connect to the phone via the terminal and run commands directly on the phone after getting root.
adb is free and normally available in the repositories of most Linux distros.
$ sudo apt install adb
ADB includes three components:
A client, which runs on your machine.
A server, which runs in the background on your machine and communicates between the client and the daemon running on the Android device (or in our case KaiOS device).
A daemon, which runs as a background process on the device.
Wallace Lite
Wallace is a tool developed by the same Luxferre which exploits some vulnerabilities and achieves root permissions on a KaiOS phone.
$ wget https://groups.google.com/group/bananahackers/attach/cff5882d389fb/wallace-lite-0.1.zip
The downloaded file will be a .zip file, which is basically a packaged web-app. We will need to install this app on our KaiOS device.
PaleMoon browser
KaiOS is closed, so one can only install apps from their store. To run Wallace and get root on the phone, we would need to install it first. Back in the days of Firefox OS, one could use the WebIDE on a PC Firefox install and deploy the app onto the phone running Firefox OS.
As KaiOS is a fork of Firefox from quite a while ago, it isn’t compatible with modern versions of Gecko that power Firefox today. Thankfully, people have forked Firefox at the right time and created a new browser which comes in handy for our purpose. This is Palemoon browser!
The version required by the Banana Phone is Palemoon 28.x. I downloaded it as well as a signature from the developer and verified the signature with gpg.
$ wget http://archive.palemoon.org/palemoon/28.x/28.6.1/palemoon-28.6.1.linux-x86_64.tar.bz2 -O palemmon.tar.bz2
$ wget http://archive.palemoon.org/palemoon/28.x/28.6.1/palemoon-28.6.1.linux-x86_64.tar.bz2.sig -O palemoon.sig
$ gpg --keyserver pool.sks-keyservers.net --recv 439F46F42C6AE3D23CF52E70865E6C87C65285EC
$ gpg --verify palemoon.sig palemoon.tar.bz2
Now that we have all the tools downloaded/installed it’s time to play!
Banana hacking!
Get root
1) Debug mode
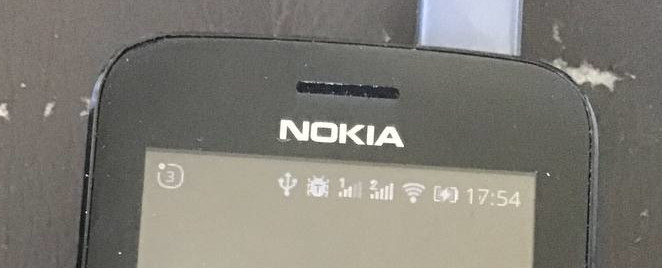
To put the phone in debug mode, type in *#*#debug#*#* on the keypad from the home screen. A little bug will appear on the top of the screen near the SIM/WiFi symbols.
Connect via USB cable to computer. I wasn’t able to see it at all in lsblk unless I disabled debug mode and enabled it again while USB connected. Note that also the MicroUSB cable needs to be a data cable.
2) Connect with adb
adb devices shows all devices that adb can conntect to:
$ adb devices
List of devices attached
c620c619	device
If the device shows up, we also need to forward the port, so we can latter connect to this port via the Palemoon browser when we load the app.
adb forward tcp:6000 localfilesystem:/data/local/debugger-socket
man adb gives us an insight on the flags, apparently -d will connect to the usb connected device, and running the shell command will create a connection between the client and a shell running:
$ adb -d shell
shell@Nokia 8110 4G:/ $
3) Connect to the phone with PaleMoon WebIDE
Run Palemoon browser and go to Tools > Web Developer > WebIDE.
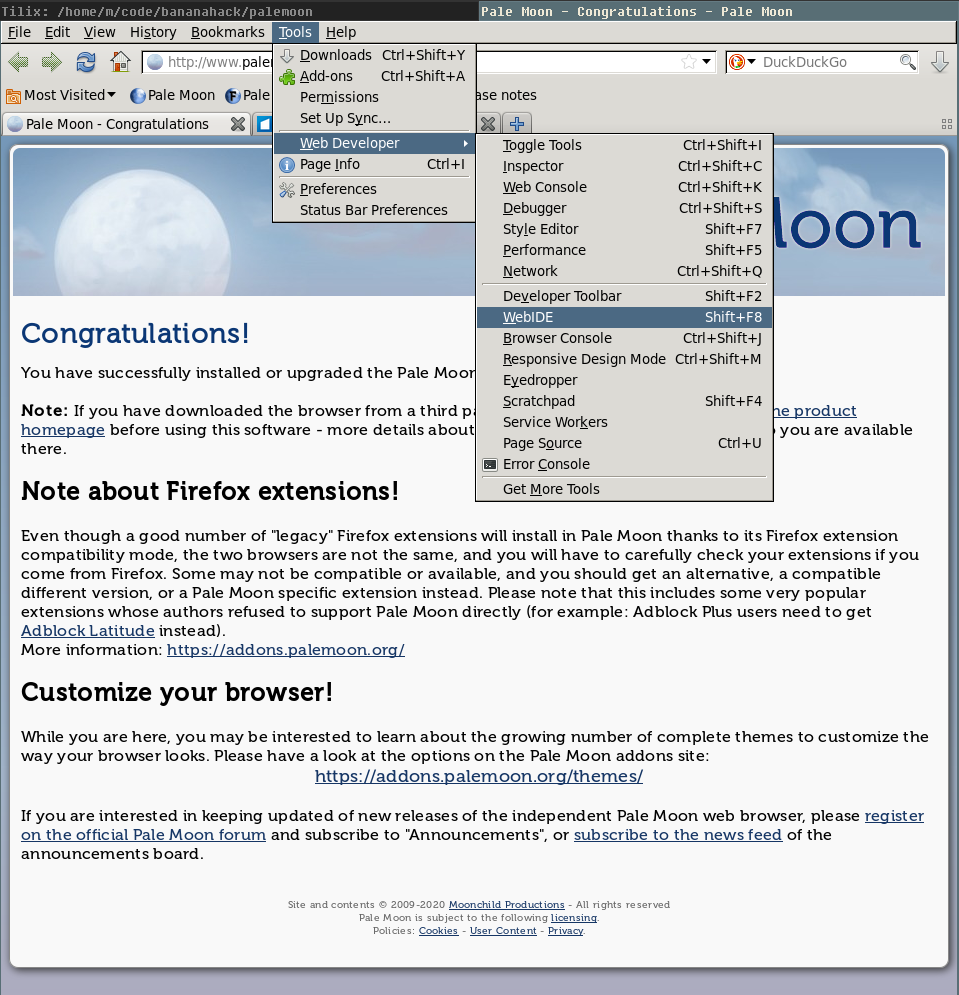
Then click on Remote Runtime and connect to the debugger port localhost:6000.
4) Installing Wallace
Open packaged App… and head inside the directory where the manifest.webapp file for Wallace is located, then click Open (without selecting any file). Wallace Lite appears in the WebIDE.
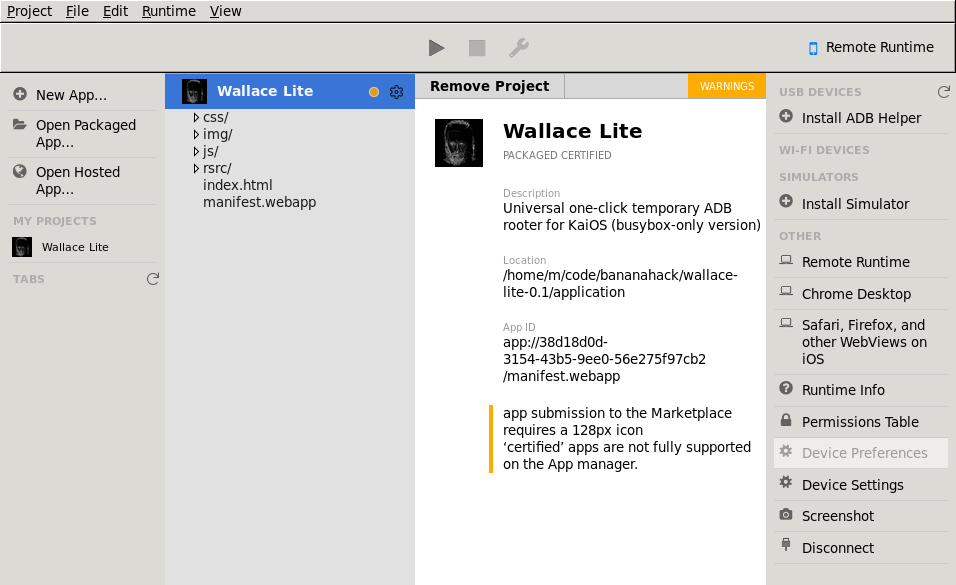
Pressing the play button deploys the app to the KaiOS device. It should appear last in the application list in the menu.
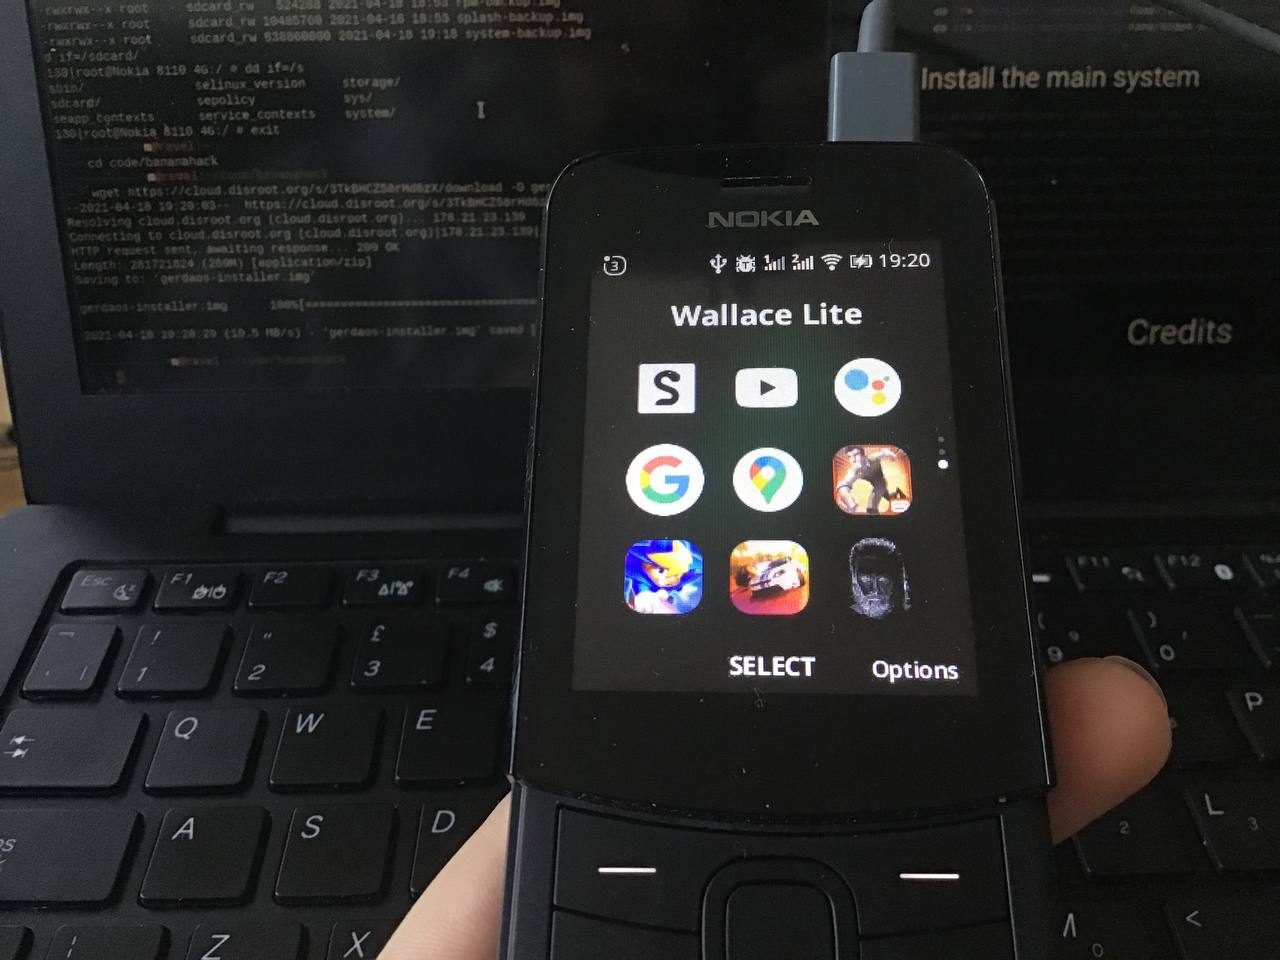
5) Running exploit
Then using the phone, run the Wallace app. The exploit should be done when the phone displays an image of Wallace from the movie Blade Runner 2049 (2019).
And logging into the shell with adb after the exploit should now include superuser permissions. The user appears to be root instead of shell. Yuss!
$ adb shell
root@Nokia 8110 4G:/ #
Backup
Now that we have root, we can read and write system partitions. Backups! I got a separate SD card to keep as recovery drive for the phone and backup everything to it. If anything happens in the proces of flashing the custom ROM, one can always restore the identical partitions from the SD card to the phone.
I first back up the whole system image to my laptop, and then each partition to the SD card.
5) Backup whole partition to computer
Using adb with pull copies the system image of the whole physical memory of the phone to an .img file.
$ adb pull /dev/block/mmcblk0 mmcblk0.img
6) Backup specific recovery paritions to SD card
Backup commands for recovery partitions are slightly different depending on what chipset the phone is using, as that affects the system path of some of them. The BananaPhone uses the Qualcomm chipset.
Inside adb shell, I run dd to make images of partitions and dump them on the SD card.
dd if=/dev/block/bootdevice/by-name/recovery of=/sdcard/backup/recovery-backup.img bs=2048
dd if=/dev/block/bootdevice/by-name/system   of=/sdcard/backup/system-backup.img bs=2048
dd if=/dev/block/bootdevice/by-name/boot     of=/sdcard/backup/boot-backup.img bs=2048
dd if=/dev/block/bootdevice/by-name/splash   of=/sdcard/backup/splash-backup.img bs=2048
dd if=/dev/block/bootdevice/by-name/fsg      of=/sdcard/backup/fsg-backup.img bs=2048
dd if=/dev/block/bootdevice/by-name/rpm      of=/sdcard/backup/rpm-backup.img bs=2048
dd if=/dev/block/bootdevice/by-name/modem    of=/sdcard/backup/modem-backup.img bs=2048
Install GerdaOS
8) Copy GerdaOS downloaded images to SD card
adb push copies files across to the connected device.
$ adb push gerdaos-recovery.img /sdcard
$ adb push gerdaos-install.zip  /sdcard
9) Flash Gerda recovery to recovery partition
To install Gerda, the phone needs to be booted in recovery mode, using Gerda’s recovery partition instead of the existing KaiOS recovery. For that, I dump the recovery image previously copied to the SD card to the recovery partition.
dd if=/sdcard/gerdaos-recovery.img of=/dev/block/bootdevice/by-name/recovery bs=2048
10) Install Gerda
Now what’s left is to restart the phone, boot into Gerda recovery, and install the OS from the SD card. Navigate to Apply update from SD card using the navigation keys and select with the power key on the right, then find the GerdaOS installer zip and run it.
This will take some time, then the screen goes black and the phone reboots, and then…
Brave new world
Aside from the waves of endorphins felt when seeing that penguin at boot, the advantages of having installed GerdaOS became obvious straight away. First, it’s faster. Considerably much faster than KaiOS or any of my previous dumbphones was, albeit it is not a fast phone, but that’s okay.
GerdaOS is more or less identical to KaiOS, minus the bloat, at first sight. But actually, two applications that come with the OS already do so much. One is Files, which is just that: a file manager. (Something that took Apple more than a decade)
The other is the EMEI tool, which allows you to change the MAC address and EMEI codes of your phone for privacy. Providing something like this out of the box is amazing, exactly the kind of design-for-privacy that more developers should go for. This EMEI tool is so interesting to me that I plan to try to somehow use all my hacker skills to de-anonimise it. One day.
The settings application allows to disable location, mobile data, Bluetooth and WiFi. When first booting into Gerda, all of these things are off by default - as it should be. The first thing I did was to set a password - the phone can be locked with a 4-digit code.
Then, I made a WiFi hotspot with a spoofed MAC address and IMEI and gave my laptop internet. This is almost as good as the good old days of wandering in and out internet cafes. I was also able to use Bluetooth and exchange files with A., who’s running the latest Android on a Sony Xperia. So modern. (Another thing that should embarrass Apple, since I don’t remember Bluetooth ever working on iPhone to send files)
The next step is apps and things - which I have played with a little, but not enough to write about. Teaser: OpenStreetMaps app from which I can share my location, one-time password app that can hold the same keys as on my Yubikey, and the slowest and most cutest terminal app you’ve ever seen.
Closing thoughts
Leaving aside the irony of the Banana Hackers site being run on Google sites, I cannot say enough how impressed I am by the fact that this community and this phone, with its custom ROM exists, and how excited I am to find a way to apply my skills to contributing.
I am very grateful to the community for their resilience and tenacity in pursuing this project, despite the begrudging opposition of the manufacturer. As they say in their open letter:
We came in peace, and our only mission was to make 8110 better. […] You must understand that you’re resisting the unstoppable and postponing the inevitable.
which brings to my mind Morpheus’s words again, to go full circle:
You have to undertsand, most of these people are not ready to be unplugged. And many of them are so inured, so hopelessly dependent on the system, that they fight to protect it.
We live in a world that is just like that. And the smartphone is one of the things that keep us plugged in.
Happy unplugging!

Further reads
Title of this post is a ref to Salinger’s short story A perfect day for bananafish (on ZLibrary).
Cellular phone, on the Matrix Wiki
I first found out about most of this Banana Hacker stuff from Luxferre’s webpage and other webpage. The Banana Hackers are on google sites and on youtube. They also have the Banana Hackers wiki
A guide for sideloading apps to KaiOS and a guide for installing Gerda on Martin Kaptein’s site.
Update - Jan 2024
The KaiOS community has been working hard on app development and there are even more hackers than ever engaging with the ecosystem. Therefore I am sharing two new important resources, thanks to Tom Barasso: